|
Recent Entries to this Blog
Overland Park Arboretum & Botanical Gardens
Posted: 27 Aug 2008 Posted: 26 Aug 2008 Posted: 18 May 2008 Posted: 29 Apr 2008 Posted: 27 Apr 2008 All Entries |
Completed Fairy Garden with Great Photos!
As promised..here's the pictures of the completed Fairy Garden in the planter. 16 pictures to be exact. This shows the entire planter. I tucked moss around the inner circle of flowers and then put tiny gravel down as a path following the edges of the moss. I secured the moss with floral pins hoping to discourage birds and high winds. On the outer edges I mulched the plants with a old bag of orchid mix I had and added my left over moss crumbs pressing it into the soil hoping it stays put. 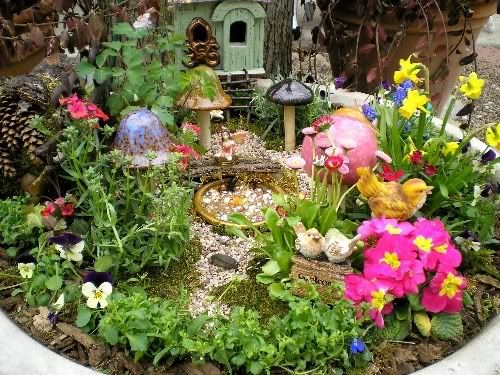
Welcome to a world of enchantment. On with the good stuff. 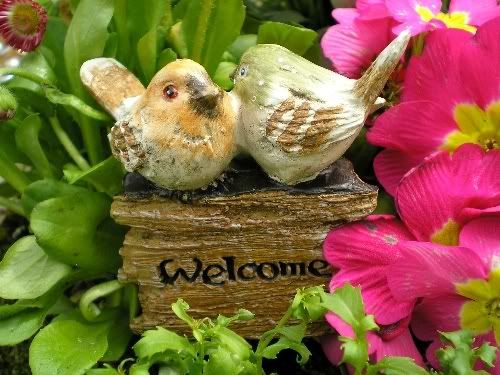
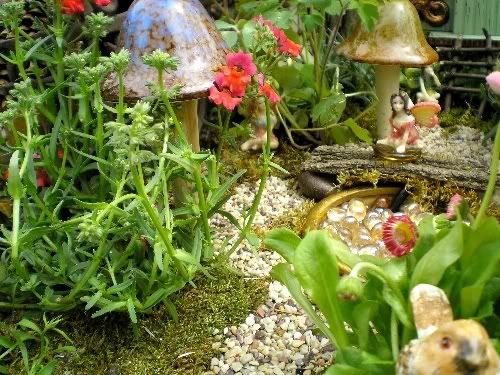
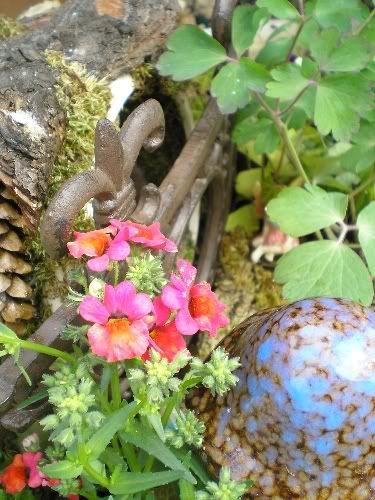
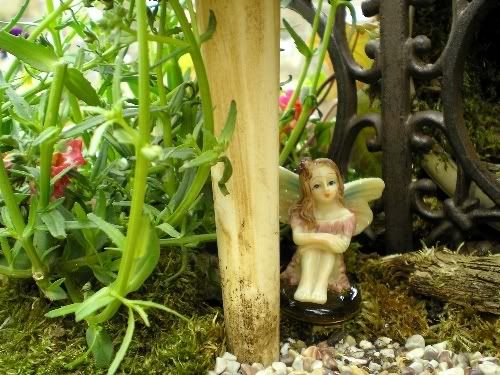
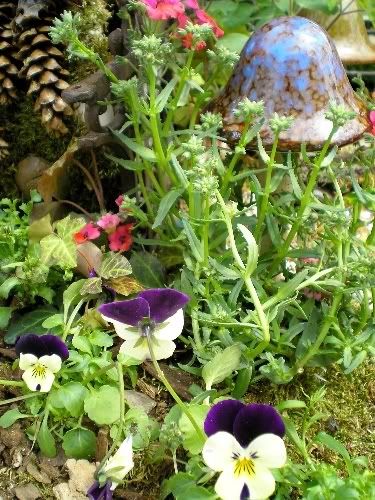
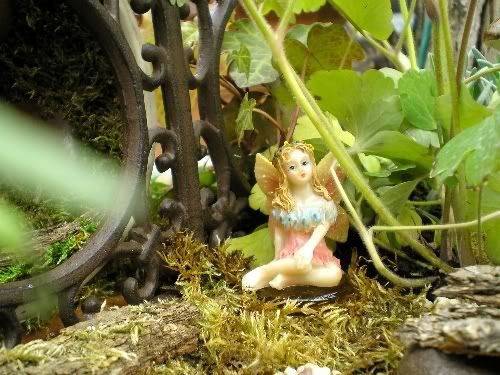
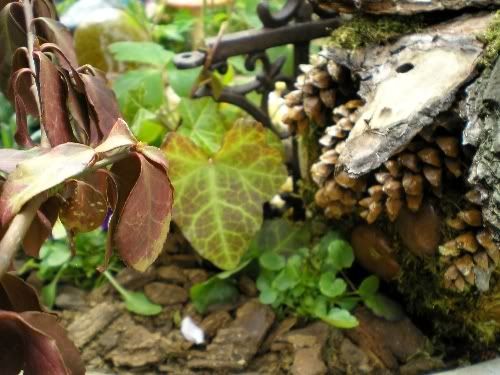
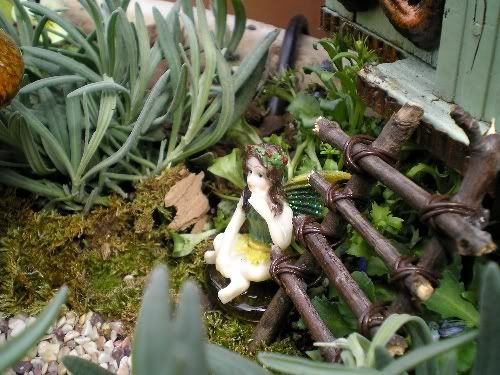
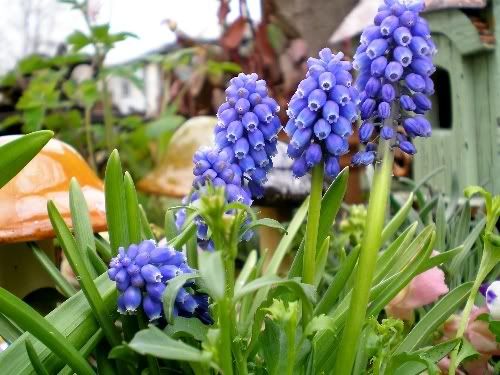
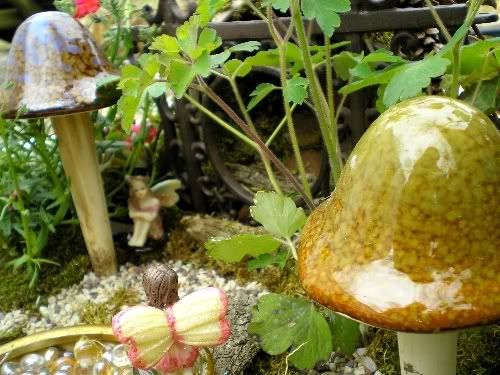
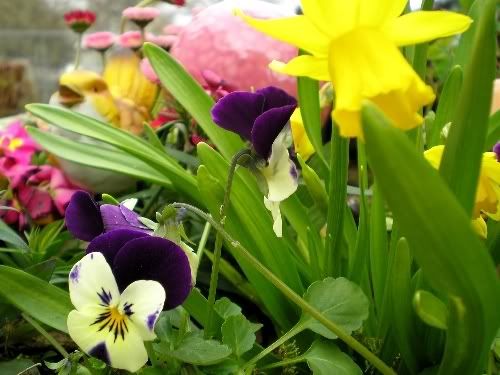
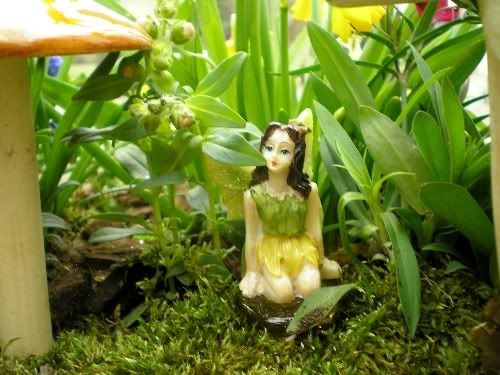
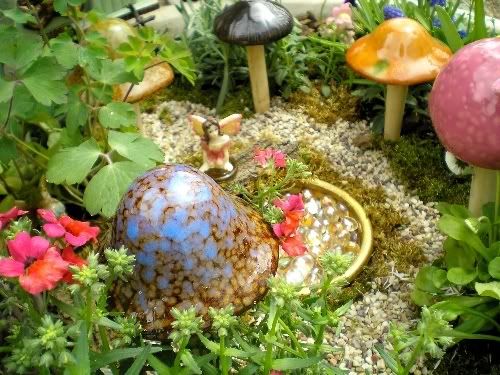
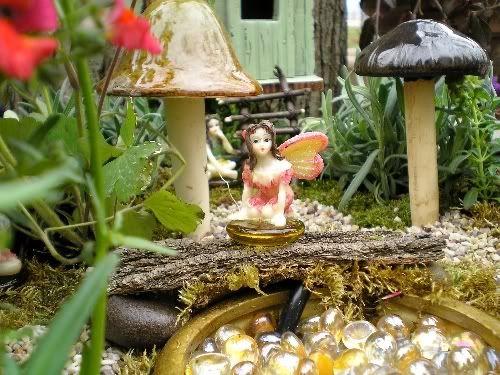
This is the Watch Bird. He tells Ma-Ma when short people are doing things they arent suppose to be doing. Madysons always saying "How'd you know?" and I tell her a little bird told me. Here he is! And yes, he has invisible eyes in the back of his head. 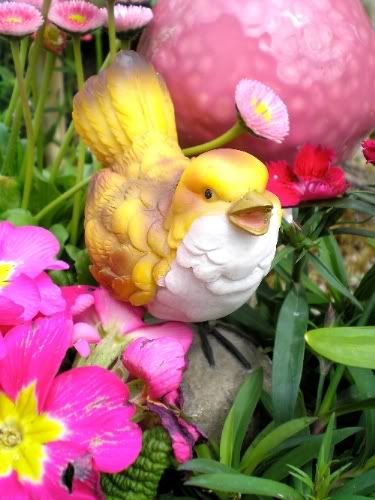
I bought tiny Fairies from this link http://www.miniature-gardens.com/baby-fairies.html It's a great company..I had my Fairies in 3 days. I will say this though..the measurements are listed as 2" high and they are not. They are more like 1 3/4". I was still happy with them and plan to order 2 more that were out of stock when I purchased the first 5. I did alter my Fairies so my photographs and the websites photos will look different. I changed some hair color to make them different, and glued them to some of those bigger flat gems so they wouldnt fall over. They all recieved a coat of laquer hoping to prevent color fade. It's kind of nice to know what kind of Fairies you'll be using so you know how big (or small) to make things. I also discovered that it's hard to find inexpensive Fairies in stores. Hope you enjoyed this..everyone needs atleast 1 Fairy Garden somewhere. Fairies are multiplying at my house so more photos to come : ) This blog entry has been viewed 58849 times
You're reading one of many blogs on GardenStew.com.
Register for free and start your own blog today.
Magnificent Joann *round of applause* Easy to see that a large amount of effort went into this.
What a thoughtful and attractive little garden that fairy garden is. The colours are nice and there is a bit of 'scale'. The whole thing looks very nice.
I'm overawed, and can't find words to express my admiration. It's all so well put together.
My those little fairies have been very busy! Your fairy garden is looking spectacular and your photos are excellant!
What a great job Joann. Very nice pics. Looks like a lot of work went into that. Thanks for sharing.
I absolutely adore your Fairy Garden Joanne. My 4 year old does too and now she wants us to build one. Amazing work!
That is just beautiful. I am in awe. I know it is a little garden, but all the detail, all the plants, all the ornaments, I could get lost in there. It must be the stuff that little ones' dreams are made of. AMazing
I throughly enjoyed a peek at your fairy garden. You have done alot of work, and its looks great too. Thanks for showing it off.
Very nice! What a great idea, it looks fantastic.
How positively charming. I love it and am glad you shared it with us.
Just as 'cute as a bug in a rug'. You did a wonderful job. Where will you put it? Will it weather outside or will it go on a covered deck? What type of base did you use? Great job, Joann.
Kuntrygal..so sorry, I just noticed you ask me a question. The Fairy Garden is in a large concrete planter so it will be staying put. It's located in a so called ring around a Maple tree and is out in the open in kind of a courtyard area off my patio. If I had it all to do over again..I'd put it under my covered patio to protect it more. Live and learn.
I love this idea. I plan to attempt to make one for my yard. Very cozy and creative. Login or register to leave a comment. |
Entries by Category
All Categories
|

