|
Recent Entries to this Blog
Windchimes-Love or Hate
Posted: 31 Mar 2011 Posted: 31 Mar 2011 Posted: 21 Feb 2010 Posted: 28 Nov 2009 Posted: 10 Feb 2009 All Entries |
The Beadmakers ArtSeveral years ago we had some birthday money and decided to get us a beadmaking kit. These have everything you need to get started except the bottled gas. You can get that at home improvement centers. The bead kit runs about $100 but was recently on sale at the Hobby Lobby for $75. When we got it home and set it up I had hubby start to make beads, in case it blew up or something. He was so very good at it that he has worked in the flame ever since and I assist and do the bead designing. It just worked out that way. He doesn't really like to pick out colors and such and that is the BEST part. I study up on new techniques and then he learns them! He is so great. Once the bead goes into the flame it stays there until it is done. You wave it in and out of the flame as you work on it. Too long in the flame and it will melt and fall off. Too long out of the flame and it will go into shock and break. It is a somewhat graceful hand dance. Once the bead goes into the flame it is usually molten orange so you need to plan your colors beforehand. When the bead is completed it goes into the fiberglass blankets to cool slowly. In this photo a bead is in the flame and he is holding a graphite marver in the other hand. The bead is rolled and shaped on this as you work on it. There's another marver laying on the table with frit on it that I made. Frit is pieces of the bead rods broken up into different sizes and colors and then picked up on the hot bead. 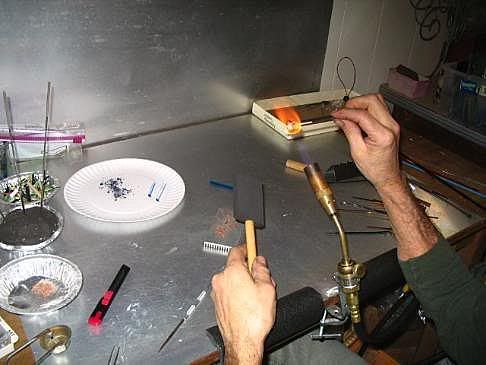
Frit with bead. 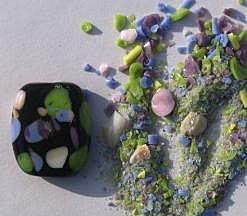
In this photo you can see the cooling blankets on the table beyond him. They look like cotton batting. At the end of the table near the doorknob is where I sit. Those plastic boxes are those day pill things and they are full of frit of all different sizes and colors. I put it on a marver as needed and push it over to him when he's ready for it. 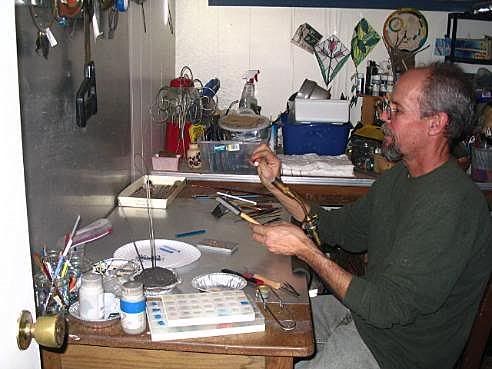
These glass rods are made in advance and then cooled and put on beads. You take glass rods of different colors and tape then together. They go into the flame and you pull molten glass out of them simultaniously and twist it as you pull. You cool them and then they can be used different ways on beads. 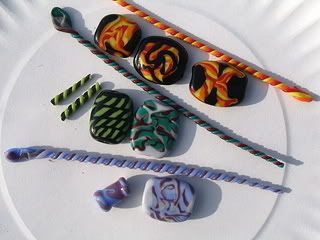
This bead has silver leaf on it. The bead is made of trasparant glass.The leaf is cut up by me and put on a marver. You can't touch this stuff with your hands at all. It's very light also. We were back there yucking it up and I looked down and all my leaf had blown away! Now I keep it a little further away. On the odd shaped bead the leaf is on the surface. On the round bead on the end it is in between layers of glass. There are a million ways to make beads. 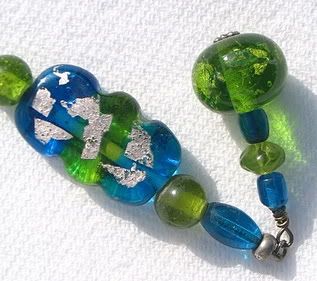
Many bead techniques use dots. Dots of colors are put on the beads and then manipulated into shapes. These ferns are made with dots that are then pulled to give them their graceful shape. 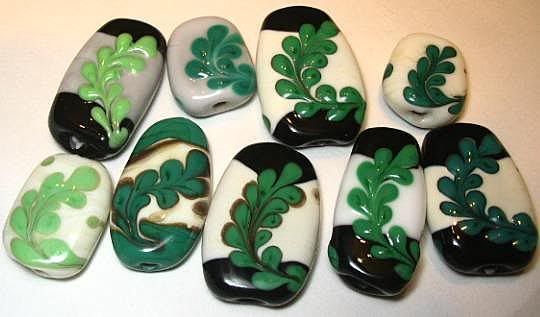
This bead is a dark brown bead. Then white dots were put on it then amber dots were put over the white. While the amber dots were still raised up the dark frit was picked up. At the very end it was "smashed" to give it this flattened shape. 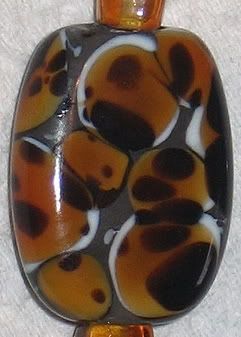
These are some camo "man beads." They can be used as zipper pulls on jackets or on coolers and keyrings. 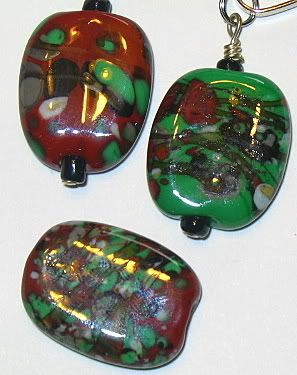
Some beads are just for fun. 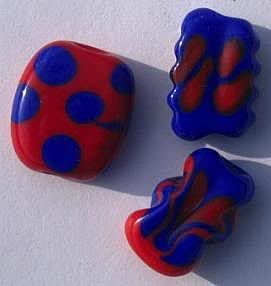
These sparkly beauties are made with dichroic glass. It is applied to the bead near the end. It can't stay in the flame too long or it loses its sparkle so it must be worked very gently. I love this stuff! 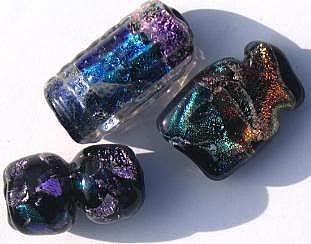
These flower beads are still on the mandrels. The leaves are green dots that are then pulled into shape. The light gray above and below the bead is a release agent that is dried on the mandrel before the glass is put on it. These take a good while to make as the pattern is on both sides. We don't sell these but like to give them as gifts to flower lovers. 
Some "eye beads" and amber necklace beads. The amber beads are "smashed" to give this shape. The amber beads are very popular here. 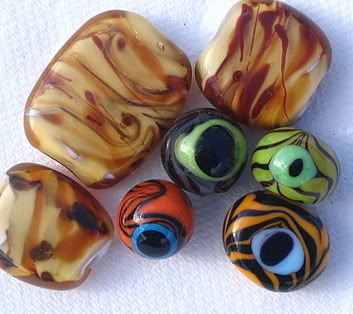
We buy glass beads and make jewelery to sell. I do the beading part of the necklace and hubby does the silk cord and the rest of the wirework. The handmade bead is always the centerpiece. This is an amber bead with silver leaf that is burned on it to give it a gold look. 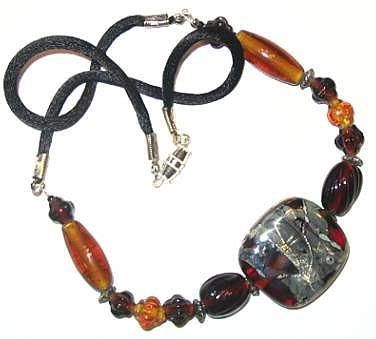
I make lots of mix and match earrings to coordinate with. 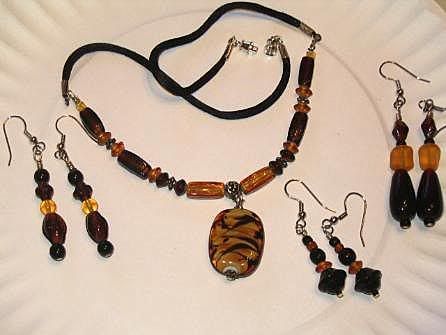
We don't usually make handmade matching earrings but this one is mine and I DO sleep with the beadmaker. 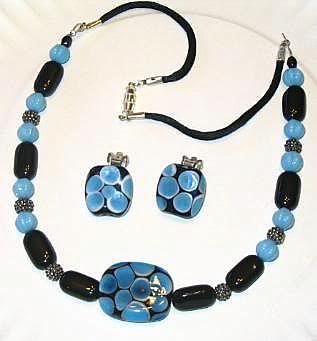
This is another of my personal pieces so I get 5 handmade beads on this one all made to my specifications. What a guy! 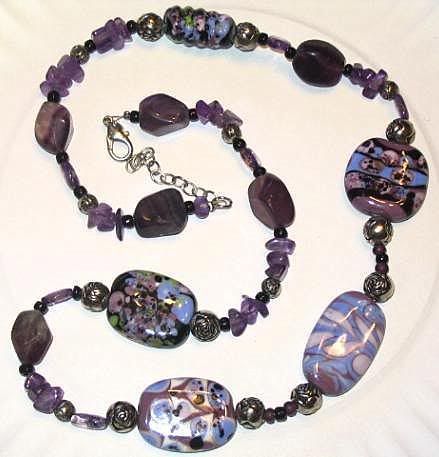
When I first suggested making face beads hubby just couldn't believe he could do it-but I did. These are hard to make and Never sold either. It's the only time I recall us discussing makeup colors! The wires are on them because they hang on the knobs of my stereo. You don't have to wear beads to enjoy them. 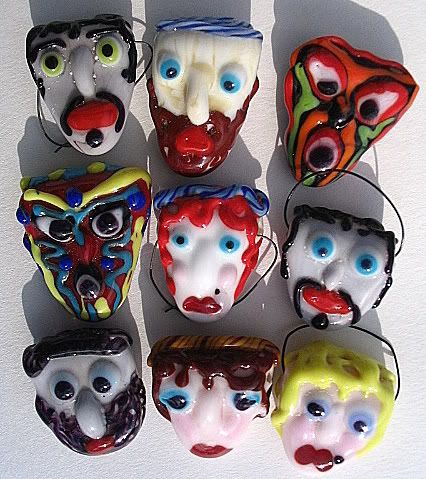
Imaginative, creative, FUN. This blog entry has been viewed 857 times
You're reading one of many blogs on GardenStew.com.
Register for free and start your own blog today.
Goodness what beautiful work you two do.
Your beads are all lovely, and I'm drooling into my keybord. What gorgeous-looking things you have made! The two of you are a true artist couple.
Wow, is there anything you Can"t create to perfection?? And here I've just been jealous of your mosaic skills, now I have a whole new green-faced area, lol! I absolutely love those fern beads!
OO Bethie what fantastic beads. True works of art!! I love the dichroic glass ones and the fern ones and the earing and necklace set .... actually I really, really love them all. You and your husband are so talented.
Those are amazing Bethie! Login or register to leave a comment. |
Archives
All Entries |
