|
Recent Entries to this Blog
Project Tomato - It's Yummy
Posted: 25 Oct 2014 Posted: 03 Oct 2014 Posted: 23 Sep 2014 Posted: 19 Sep 2014 Posted: 07 Sep 2014 All Entries |
It's done ..... IS IT?Got the water pump which is the heart of the whole system which is reasonably priced and very reliable. Best of all the shop is just walking distance from my place. 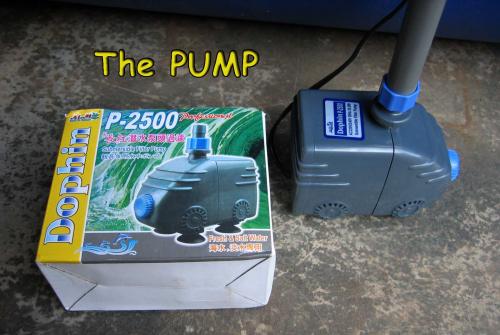
The Heart ( photo / image / picture from KK Ng's Garden ) It is a submersible pump exactly the same as the one that I have in my fountain which had been running continuously coming to three years now without any attention needed. It is rated 2,000 liters per hour with a power consumption of 28watts. Took a piece of left over 15mm pvc piping and it fitted nicely over the discharge port of the pump. With the diameter of the feed plumbing settled, I sat in front of the incomplete aquaponics system to imagine and decide on the best delivery system to feed the tanks with the water from the fish tank. Once decided, I started to make a shopping list for the hardware needed. From my measurement, I needed about 14feet of the rigid pvc piping but I decided to get a whole standard of 20 feet which is more cost effective than buying it base on foot run. 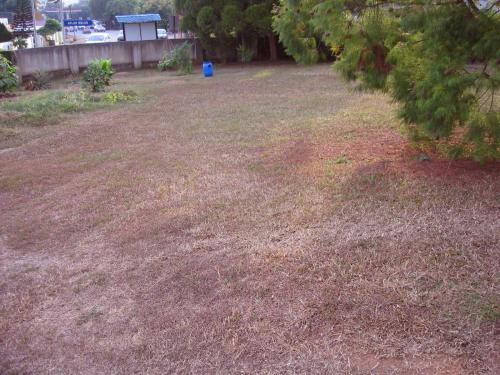
Dry, dry, dry! ( photo / image / picture from KK Ng's Garden ) After getting the hardware together, I had to stop work for the day because it was getting late in the day and the plants in the mini farm need to be watered, no thanks to the extreme hot weather and dry spell. I have to water them 3 times a day for the moment. 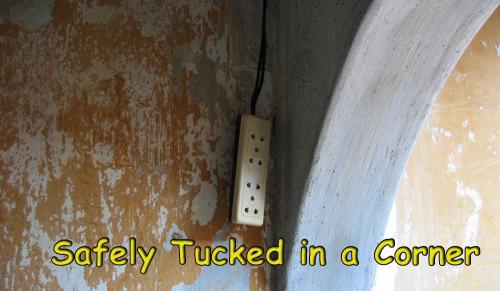
Power Point ( photo / image / picture from KK Ng's Garden ) Started immediately after breakfast the next day with the pump in hand and realised that the power was not done yet. Spent almost the whole day getting the cables and power point done up. The hardware were all left over from when I rewired the house. The wires were all new and the power was drawn from the main switch board with a dedicated mini circuit breaker. A switch is placed in the house for convenience of easy reach in case of emergency. 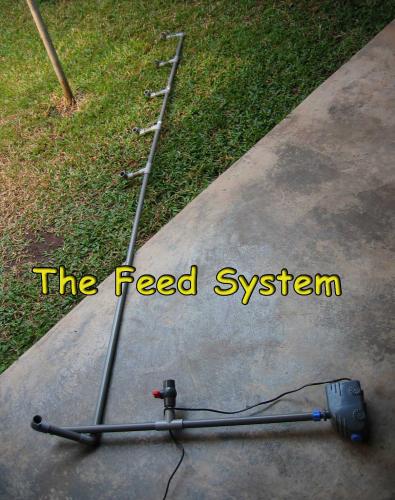
Feed ( photo / image / picture from KK Ng's Garden ) Basing on the principle that level of water will be the same if all vessels containing the water is connected, the feed pipe design is rather straight forward. The stopcock is to regulate the flow of the water. If the pump capacity is not enough, I had already convinced myself to buy another same pump if necessary because it did look a little small 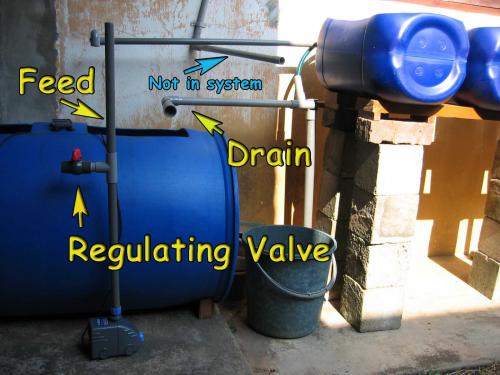
Feed System ( photo / image / picture from KK Ng's Garden ) Once everything was hooked up and ready to go, I decided to filled the fish tank with tap water because I had no more rain water and I don't think it'll rain soon. 
First Run ( photo / image / picture from KK Ng's Garden ) Once the tank was 50% filled and it was all system go! I was surprised the volume of the water that small pump can really pump up and in a matter of minutes the grow tank was filled and some even flooded before the siphon kick in. I was excited, really excited to see the system in motion. While adjusting the level of the flooded tank, I felt water splashing on my foot ......o..oh!! 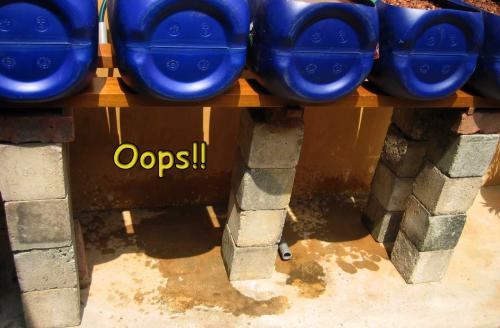
O, oh!! ( photo / image / picture from KK Ng's Garden ) 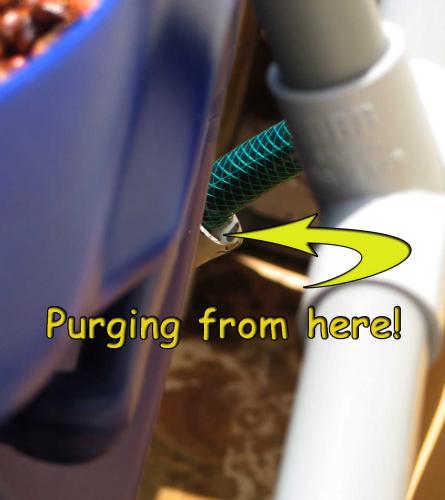
The Culprit ( photo / image / picture from KK Ng's Garden ) Made a quick inspection and found that water was splashing out of the hole where the hoses go into the drain pipe. Hmmm.... check the hoses where the water is splashing and concluded that they were too deep inside thus restricting the flow of the water and causing a back flow. Without another thought those hoses were reduced in lenght by about an inch or so and the problem was corrected. I am pleased that it was running and took a moment to admire it in action The flow regulating valve worked like a charm but I was wrong with the principle that level of water thingie, it only works base on arguhhh!!! I don't know!!! the flow to the five tanks were all at different rates. 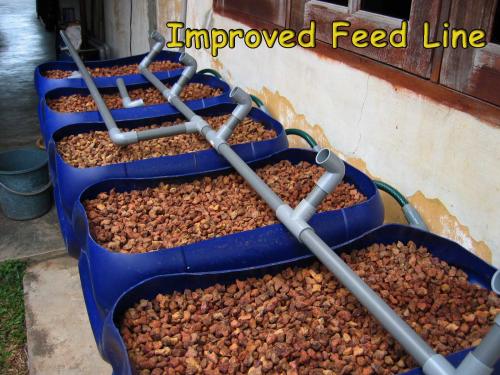
Feed Version 2 ( photo / image / picture from KK Ng's Garden ) Decided to change the design to this improved version with the main feed flow coming from more or less from the center. For this design I had added in the pressure from the pump and hope that the flow pressure would be distributed evenly through the outlets. Well it did not but at least I got even flow in pairs, that is the 2outlets at the ends were the same, the 2 mid-way have a flow rate of their own and the one closest where the feed is coming from was the strongest. Tried to find a solution but it was getting late and the mozzies were having a feast of me!! And the cost so far: 1 pc 200 litres Drum = $45.00 5 pcs 25 litres cans = $20.00 1 pc Funny Hand saw = $3.90 1 tube 300gm silicone sealant = $6.00 8 pcs Reduction Adapter 32 to 25mm = $5.60 8 pcs Reduction Elbow 25 to 15mm = $4.80 1 meter 32mm pvc thin wall pipe = $2.50 1 meter 15mm pvc thin wall pipe = $1.50 1 pc best quality hacksaw blade = $3.80 4 pcs 20mm pvc T junction = $3.80 1 roll teflon tape = $0.50 1 pc submesible pump = $48.00 5 pcs pvc 15mm T joint = $5.00 1 pc 20ft 15mm pvc pipe = $10.50 1 pc 15mm pvc/nylon stopcock = $8.50 7 pcs 15mm pvc elbow = $5.60 Last edited: Thu Mar 10, 2011 3:23 pm This blog entry has been viewed 509 times
You're reading one of many blogs on GardenStew.com.
Register for free and start your own blog today.
A manifold will solve the problem of even distribution to each grow tank KK. The size of the manifold would be determined by the connecting plumbing. Perhaps a 3-5 liter container? You have a better Idea of what kind of containers are available and how it needs to be hooked up.
Keep the water circulating KK, you don't want to give the mozzies a new home. :)
Great job, KK! I know that you must be glad that you have finished with the construction phase.
Hi Jerry,
Login or register to leave a comment. |
|

