|
Recent Entries to this Blog
Project Tomato - It's Yummy
Posted: 25 Oct 2014 Posted: 03 Oct 2014 Posted: 23 Sep 2014 Posted: 19 Sep 2014 Posted: 07 Sep 2014 All Entries |
Project Tomato - First Transplant Done
After the long wait I finally got one seedling that is tall enough, about six inches. 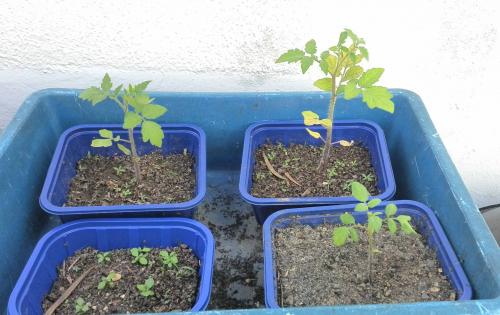
The Candidates ( photo / image / picture from KK Ng's Garden ) The first to sprout is the tallest and I do not know why some of the leaves are yellowing. Maybe because it had been raining and there was too much water. I was just wandering if I were to let the seedlings grow in a open top box, would I get taller seedlings? Maybe will try the next round. Next is to prepare the container, more holes were punched slightly above the bottom to allow for better drainage. Thanks to Carolyn suggestion, I was able to decide quickly where I wanted the extra drain holes. Those holes at the bottom were already there. 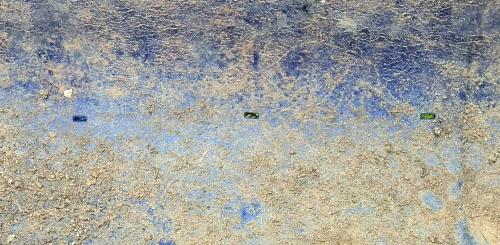
Drain holes ( photo / image / picture from KK Ng's Garden ) Since the tomatoes are indeterminate, I had a 8feet aluminum pole attached to the container securely. 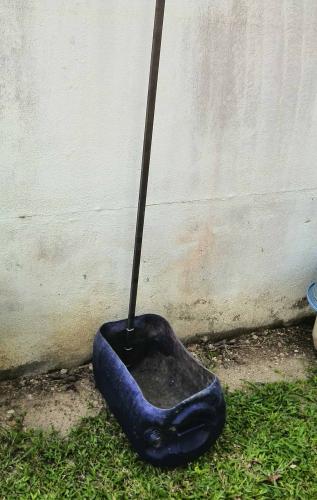
The container ( photo / image / picture from KK Ng's Garden ) Next the media which was the most difficult thing to obtain. 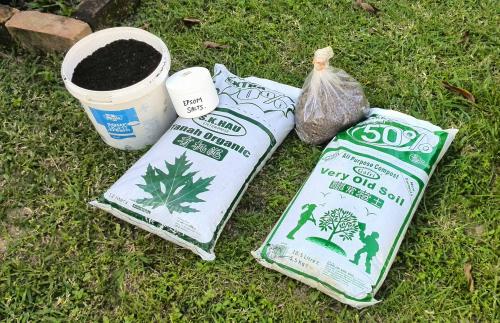
The media ( photo / image / picture from KK Ng's Garden ) From left to right, first is home made compost, Epsom salt, organic soil, pelletised chicken dung, and very old soil. The mix is about six liter of compost, six liter of organic soil, six liter of very old soil, six tablespoon of chicken dung and one tablespoon Epsom salt around the roots. 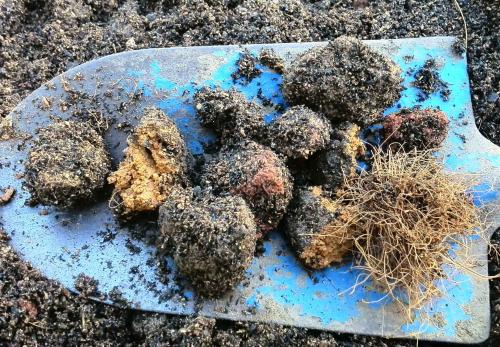
Organic soil ( photo / image / picture from KK Ng's Garden ) The organic soil smell like coconut husk, brownish in colour, had lots of clay balls, some unchopped coconut husk and some burnt things inside. 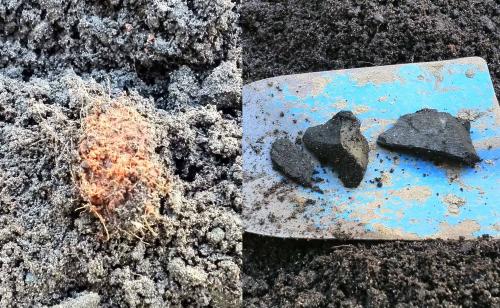
Very Old soil ( photo / image / picture from KK Ng's Garden ) The very old soil also had some clumps of coconut husk, large pieces of charcoal, looks like it is burned, very dark in colour and no distinct smell. 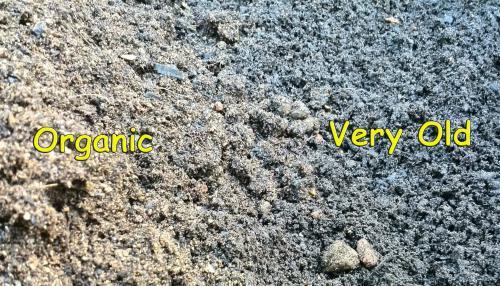
The potting soil ( photo / image / picture from KK Ng's Garden ) Anyway I broke as much of the clumps as I can, mix in the compost and chicken dung. Mix the mixture real well and put it in the container. 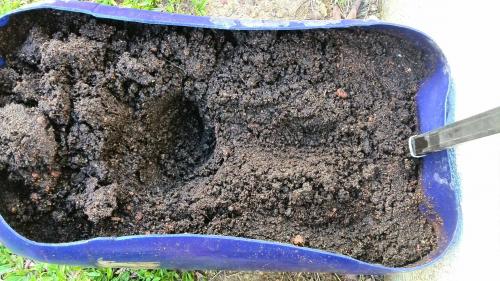
Lay down planting style. ( photo / image / picture from KK Ng's Garden ) I made a long hole like Sjoerd did in his "Tommie Time" post and planted the tomato seedling. Now to prepare the seedling. 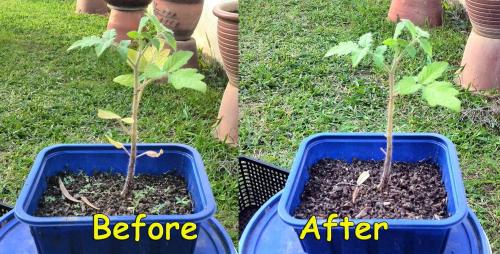
Ready to go. ( photo / image / picture from KK Ng's Garden ) All unauthorized growth were removed and the yellowing leaves on the tomato was removed too before planting it in its new home. 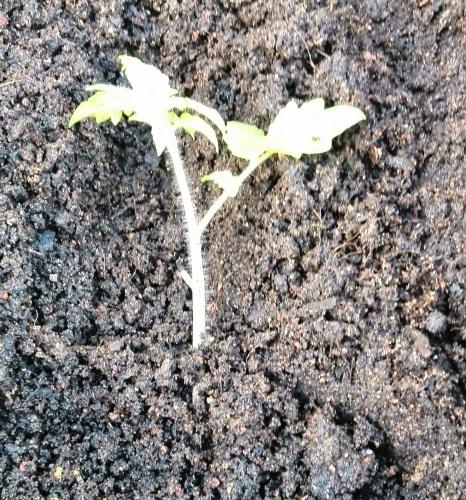
in the long hole ( photo / image / picture from KK Ng's Garden ) A tablespoon of Epsom salt was spread all over the root area before covering it with earth. I did not add a tube at the root area because it is not in a green house. 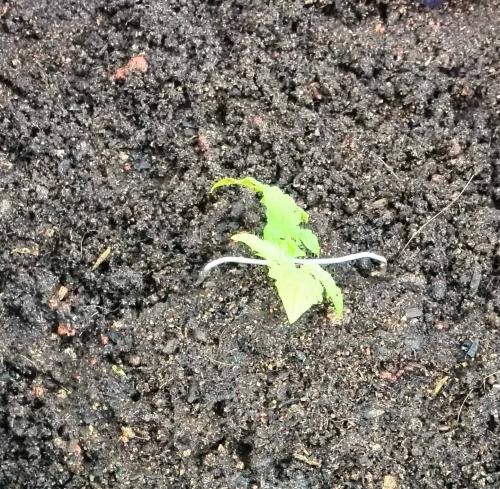
Final ( photo / image / picture from KK Ng's Garden ) Finally I had to cut another leave away and prop the plant up slightly with a wire rest. Another two plants to do and the long wait will begin. Last edited: Wed Aug 27, 2014 5:36 am This blog entry has been viewed 812 times
You're reading one of many blogs on GardenStew.com.
Register for free and start your own blog today.
You are very good at explaining all of the steps KK. Where did you learn to make up that mix?
Interesting project, hope you get lots of delicious tomatoes as a result.
It is looking good KK. you didn't actually have to prop-up the plant's top...within 1-2 days, it would have stood up on its own.
Thanks Frank, I learn how to makeup the mix from Garden Stew :)
Thanks for all the fine detail KK and keep the updates coming. It is all very interesting.
You are welcome Eclecticgarden. Login or register to leave a comment. |
|


